Water Intrusion Integrity Testing - Why and How
Integrity testing is a vital step in ensuring a filter will perform as designed. This is especially important for sterilizing grade filters, which have been validated to demonstrate performance versus integrity test results. Common integrity tests for hydrophilic filters include forward-flow air diffusion, pressure decay, and bubble point. These tests all require the filter to be pre-wet (usually with water), pressurized with air or nitrogen, and passing of the test gas to pass through the membrane. But how is integrity testing done for a hydrophobic filter?
A hydrophobic filter could be integrity tested using one of the techniques mentioned above. This would require pre-wetting the filter with a low surface tension fluid (such as IPA or ethanol) and then (possibly) flushing with water to run the indicated test. The downside of this is that the filter then needs to be fully dried to function as a vent or process gas filter. That may result in complications in a system requiring an integrity test after sterilization, as the wetting fluid could be considered a contaminant, and it is difficult to fully purge and dry the filter in place. This is where a Water Intrusion Integrity Test should be implemented.
 An intact hydrophobic membrane will not allow liquid water to flow through below the Water Intrusion Pressure. This is the pressure at which water can be driven INTO the pores of the membrane, resulting in membrane wet out and bulk water flow. This is the opposite of a bubble point test, which measures the air pressure required to drive water OUT of the wetted pores, resulting in bulk air flow through the membrane. Below the Water Intrusion Pressure, small amounts of water can penetrate the membrane by evaporating on the upstream (high-pressure) side, passing through the membrane, and condensing on the low-pressure side. For an integral filter, this flow is quite low and can be measured using a Mass Flow Meter on the inlet air line. The exact amount of this flow depends on several factors, but mainly the filter pore size, the water quality and temperature, gas temperature, and the test pressure. The readings obtained can then be correlated to bacteria retention and other key filter performance metrics. This also allows the identification of leaks in the filter device or improper filter installation.
The Water Intrusion Test provides multiple benefits:
- It does not require a wetting agent, eliminating possible system contamination.
- If performed using purified water, there is no contamination on the upstream side of the filter, and nothing reaches the downstream side except the small amount of water that evaporates through the filter.
- The filter can be prepped for service by simply draining the water from the upstream side and then purging with air or nitrogen.
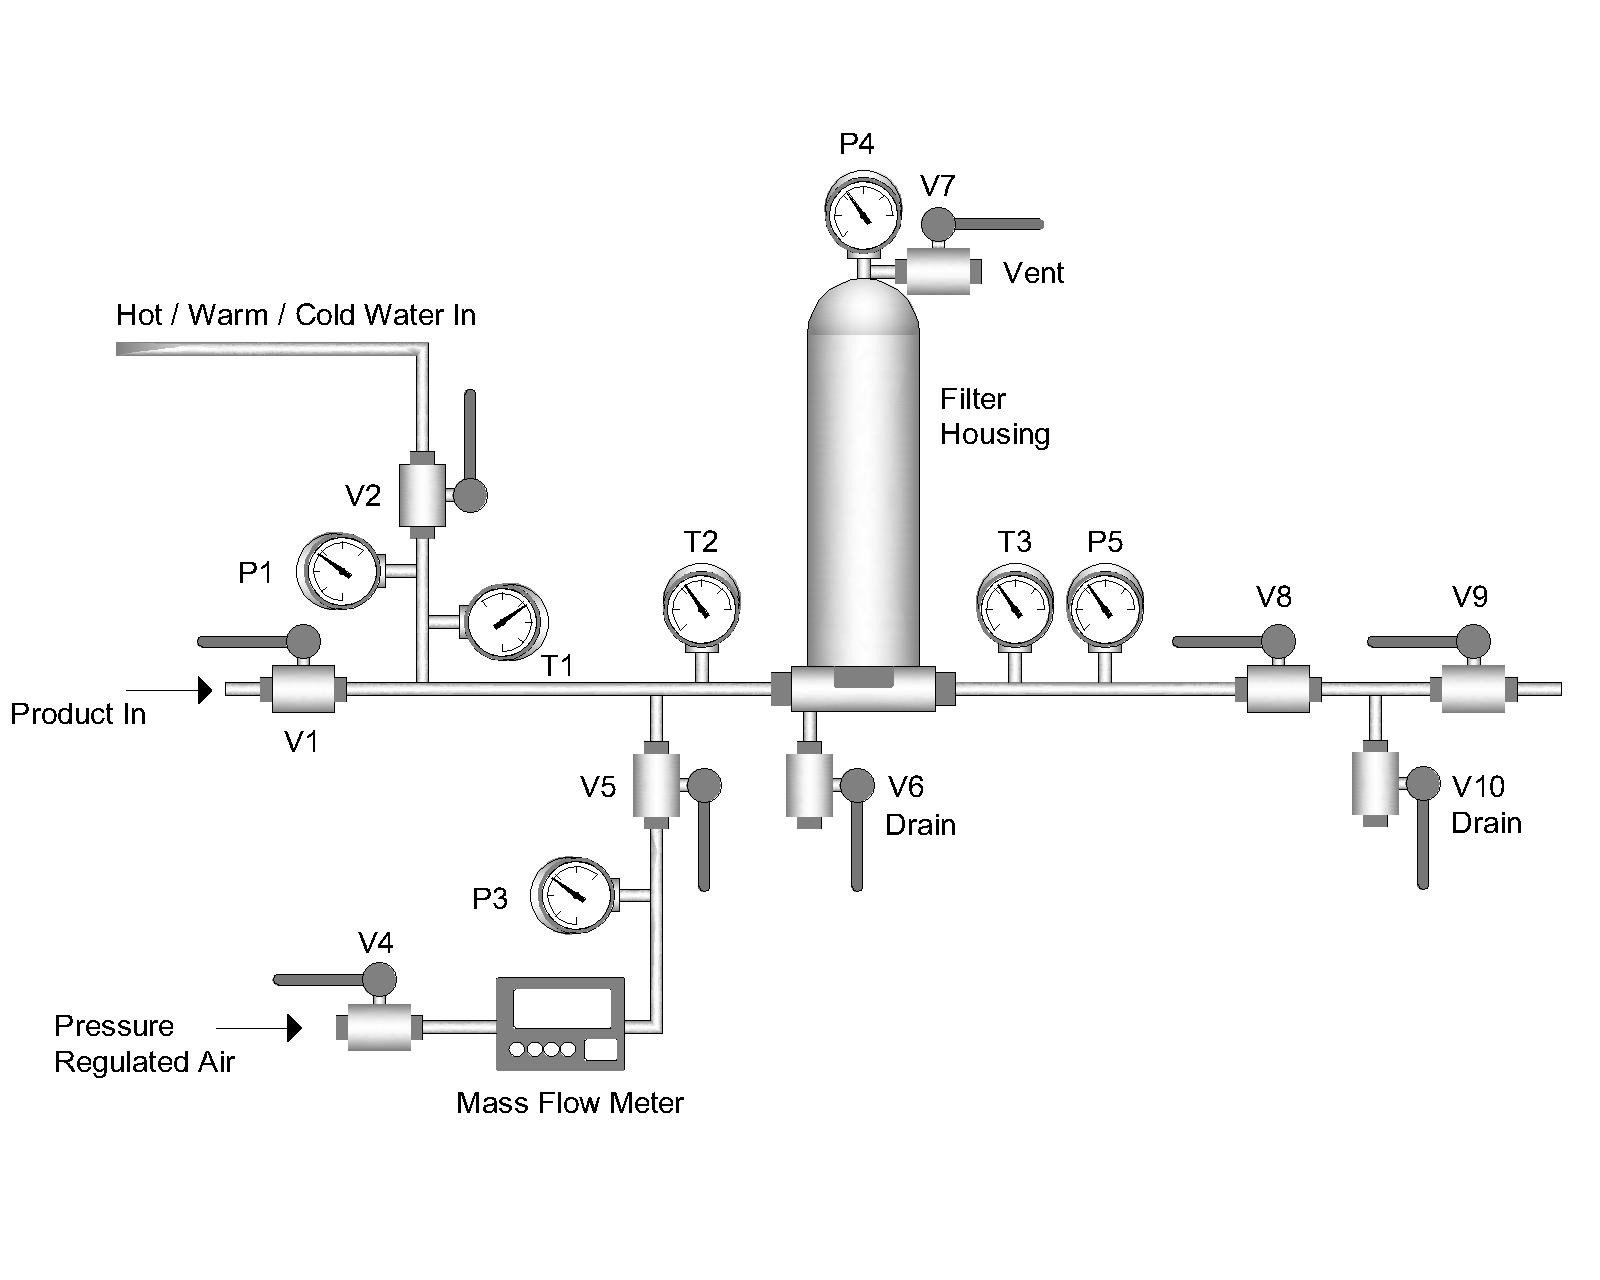
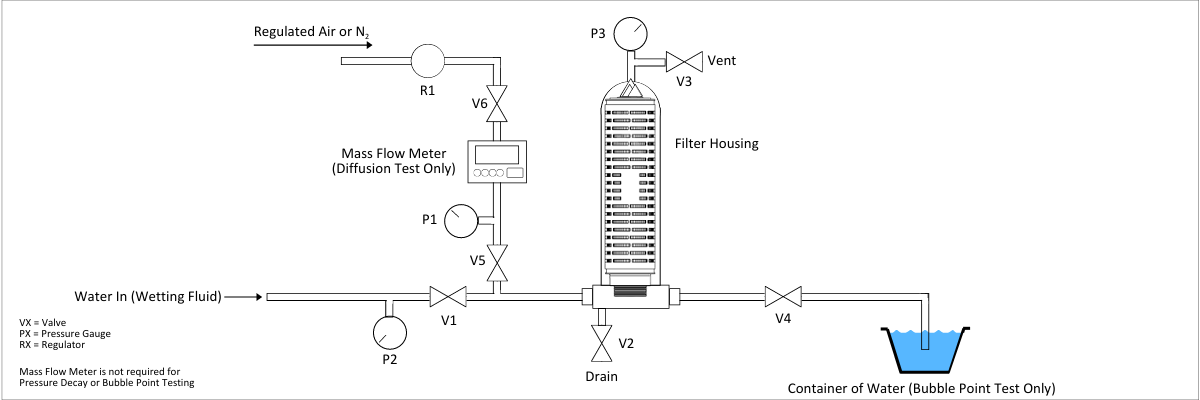
To perform a Water Intrusion Test, the filter must be installed vertically with the inlet/outlet and drain side down. This allows water fed into the upstream side to completely cover the membrane. Any membrane left exposed will allow gas to pass through, resulting in a failed test reading. The instructions below refer to the accompanying schematic.

Note: The schematic references Pressure Regulated Air, but Nitrogen can be used as well.
The schematic shows a typical layout for a hydrophobic gas or vent filter to be tested using a Water Intrusion Test. For a sterilizing system, the water used must be clean (WFI or better), and the pressurized gas (air or nitrogen) should be clean and dry. Water and gas should be at the same temperature as the filter system (ideally 18 - 22 oC). If necessary, use an appropriate container to fill with water to be used and allow it to equilibrate to the temperature of the room.
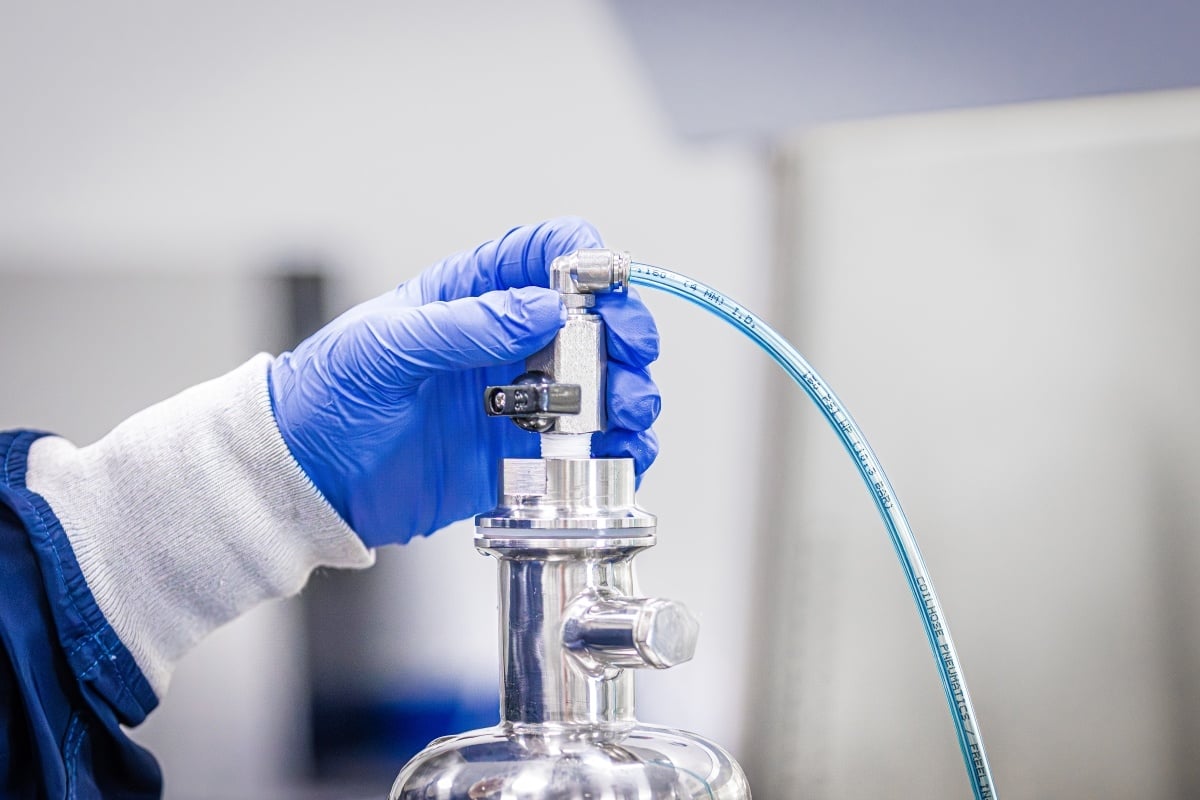
If lubrication of the o-rings is required when installing the filter, use only the same water you plan to use for the Water Intrusion Test. DO NOT use alcohols or other low surface tension fluids that may result in wetting of the membrane surface.
Water Intrusion Test Procedure
- Make sure the filter is properly installed and all connections are tight.
- Make sure the housing is vented to atmospheric pressure;
- Close all valves.
- Open the downstream valve (V2) and vent valve (V3);
- Slightly open the water source valve (V4) to slowly fill the housing with clean water;
- When bubble-free water flows from the vent valve (V3), close the water source valve (V4) and the vent valve (V3);
- Make sure the air supply and Mass Flow Meter are attached as indicated;
- Adjust the pressure regulator to the test pressure specified for the filter.
- Slowly open the Mass Flow Meter valve (V6) and the Air Inlet valve (V7);
- Allow at least 10 minutes for the Mass Flow Meter reading to stabilize (pleat pack compression, water being forced into the pleat structure, gas dissolving into the water, temperature equilibrium); If the reading is still falling after the initial stabilization period, wait until the reading reaches a stable minimum.
- Compare the stabilized reading to the specification for the filter being tested;
- When the test is complete, close valves V6 and V7, and slowly open the vent valve (V3) to release pressure;
- After venting, leave V3 open and open the drain valve (V5) to completely drain water from the housing;
NOTE: It may be helpful to close V3 and open V6 and V7 momentarily to purge any remaining water with the test gas. If this is done, make sure to close V6 and V7 and reopen V3 when done
- To place the filter back in service, close all valves except for V2, and then open the Inlet valve (V1)
For less critical applications, or where a Mass Flow Meter is not available, the Water Intrusion Test can be performed by attaching a tube from the outlet valve (V2) to a collection vessel. After the 10-minute stabilization period, collect any water coming from the tube into the collection vessel for 10 minutes. Compare the total collected with the value stated on the product specification sheet.
Procedure Notes:
- Remember, if the filter is installed in a sterilizing application, then the Water Intrusion Test must be performed using sterile water and air, especially if the integrity test is performed after system sterilization.
- If the filter returns a failing result, it may be necessary to double-check the filter installation into the housing and make sure all connections are secure. Then retest the filter.
- Temperature fluctuations can change the evaporation rate of water through the membrane and cause erroneous readings. Make sure all components and fluids are at the same temperature (typically room temperature, ideally 18 - 22 °C)
For questions about the Water Intrusion Test or help setting up and/or performing the test, contact Critical Process Filtration at customerservice@criticalprocess.com.